Building a Hydroponic Green Wall from Scratch
Transform Your Space with a Living Vertical Garden
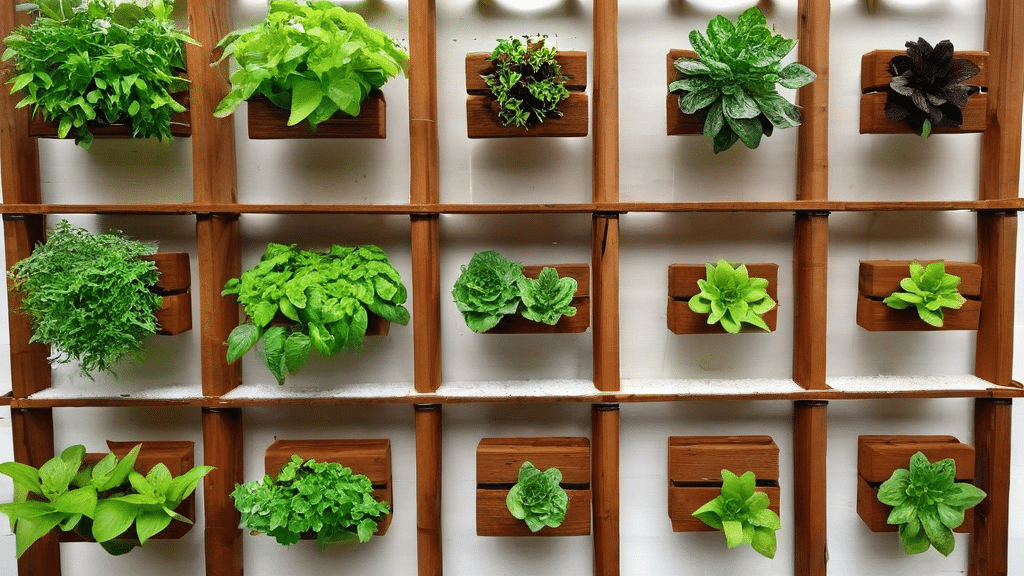
Imagine walking into your home and being greeted by a lush green wall filled with fresh herbs, vegetables, or beautiful plants. A hydroponic green wall lets you grow plants without soil, using water and nutrients instead. You can build one even if you don’t have much space or gardening experience.
What You’ll Need for Your Green Wall
Before starting your project, gather these materials:
- PVC pipes (4-inch diameter) or plastic gutters
- Plastic sheet or pond liner
- Submersible water pump
- Timer for the pump
- Growing medium (rockwool, coconut coir, or clay pellets)
- Nutrient solution for hydroponics
- Net pots or cups
- Plastic tubing
- Drill with various bit sizes
- Wall mounting brackets
- Seeds or plant seedlings
- pH testing kit
Planning Your Hydroponic Wall
Location matters when setting up your green wall. Find a spot that gets at least 6 hours of sunlight daily or plan to use grow lights. Make sure the wall can support the weight of your system when filled with water and plants. If you’re a beginner, start small with a 3×4 foot section and expand later.
Consider what plants you want to grow. Leafy greens like lettuce, spinach, and herbs work wonderfully in hydroponic systems. They grow quickly and don’t need deep root systems. If you’re feeling adventurous, try strawberries or small vine plants.
Building the Structure
Start by creating the frame for your green wall. You can use wooden boards to build a simple frame or purchase a metal grid system. Make sure it’s firmly attached to your wall with appropriate anchors.
Next, prepare your growing channels:
- Cut PVC pipes to your desired length
- Drill holes on top of the pipes, spaced about 8 inches apart
- These holes should be sized to fit your net pots
- Drill smaller holes at the ends of each pipe for water flow
- Create a slight angle for each pipe to allow water to flow downward
Install a reservoir at the bottom to collect water. A plastic storage bin works well for this purpose. Cover it with a lid to prevent evaporation and drill holes for tubing.
Setting Up the Water System
The beauty of hydroponics is the recirculating water system. Place your pump in the reservoir and connect it to plastic tubing that runs to the top of your green wall. Create a water distribution system that delivers water to each growing channel.
Make sure to include:
- A timer to control watering cycles
- A way to check water levels in the reservoir
- Access points to add nutrients to the water
Most plants do well with watering cycles of 15 minutes, several times daily. You’ll need to adjust based on your specific plants and environment.
Planting Your Green Wall
Once your structure is built, it’s time to add plants:
- Fill your net pots with growing medium
- Add seeds or small seedlings to each pot
- Place the pots in the holes of your growing channels
- Fill the reservoir with water and hydroponic nutrients
- Test the pH level (aim for 5.5-6.5 for most plants)
- Turn on your pump to test the system
For the first few days, check your system frequently to ensure water is flowing properly and plants are getting adequate moisture.
Day-to-Day Maintenance
Your hydroponic green wall needs regular attention to thrive. Check water levels in your reservoir every few days and top off as needed. Test water pH weekly and adjust with pH up or down solutions.
Replace the nutrient solution completely every 2-3 weeks. Watch for signs of nutrient deficiencies like yellowing leaves or stunted growth, and adjust your feeding accordingly.
Keep an eye out for pests. While hydroponic systems typically have fewer pest problems than soil gardens, they can still occur. Neem oil or insecticidal soap can help if needed.
Troubleshooting Common Issues
If plants aren’t growing well, check these common problems:
- Water not circulating properly due to clogged tubes
- Incorrect pH level preventing nutrient absorption
- Insufficient light reaching lower plants
- Nutrient solution too concentrated or too dilute
- Temperature extremes affecting plant growth
Making small adjustments can solve most problems. Don’t be afraid to experiment with your system to find what works best.
Building your own hydroponic green wall is rewarding and provides fresh produce year-round. Start small, learn as you go, and soon you’ll have a beautiful living wall that purifies your air while providing homegrown goodness.
Maintenance and Troubleshooting Tips for Hydroponic Green Walls
Essential Daily Checks for Your Living Green Wall
Keeping your hydroponic green wall thriving requires regular attention. Start each day by checking the water level in your reservoir. Low water can stress plants quickly, especially in vertical systems where gravity affects distribution. Make sure the pump is working properly – listen for any unusual sounds that might signal problems.
Test the pH and nutrient levels every morning. Plants on green walls often have different needs than those in traditional hydroponic systems because water flows down rather than staying in one place. Aim for a pH between 5.8 and 6.2 for most green wall plants.
Look at your plants closely. Yellowing leaves, brown spots, or wilting are early warning signs that something needs fixing. Catching problems early is much easier than dealing with a full-blown plant emergency.
Weekly Maintenance Routine
Once a week, clean the filter screens on your pump. Plant debris, algae, and mineral buildup can clog the system, reducing water flow to the upper sections of your wall. A soft brush works great for this task.
Check all irrigation lines and drippers for clogs or leaks. Even small blockages can leave parts of your wall dry while other areas get flooded. Flush the entire system with clean water to prevent nutrient salt buildup.
Trim any dead or yellowing leaves to maintain the wall’s appearance and prevent disease spread. This is also a good time to prune plants that are growing too large or blocking light from reaching others.
Solving Common Water Flow Problems
Uneven watering is one of the biggest challenges with vertical gardens. If some plants are dry while others are soggy, try these fixes:
First, check for clogged emitters or drippers. Remove them carefully and soak in a vinegar solution to dissolve mineral deposits. If they can’t be cleaned, replace them.
Look for kinked tubing that might be blocking water flow. Straighten any bends or replace sections that won’t stay open. For sections that consistently dry out, consider adding flow adjusters to increase water to those areas.
Water pooling at the bottom often means your drainage system needs attention. Make sure the collection tray isn’t blocked and has proper drainage. Adding a bit more tilt to the wall can help water flow down properly.
Managing Nutrient Challenges
Green walls can develop nutrient problems differently than flat gardens. The top sections often get fewer nutrients as water moves quickly past them. To solve this:
Consider a dual feeding system that delivers nutrients directly to both top and bottom sections. This ensures more equal distribution across the wall.
Watch for signs of nutrient deficiencies specific to each section. Upper plants might show nitrogen deficiency (yellowing lower leaves) while lower plants could show signs of nutrient burn (brown leaf tips).
Rotate your nutrient solution completely every two weeks rather than just topping up. This prevents buildup of some minerals while others get depleted.
Pest Control Strategies for Vertical Gardens
Pests can quickly take over a green wall if not managed. Inspect both sides of leaves weekly, paying special attention to the backs where many insects hide. Look closely at new growth, as it’s particularly attractive to pests.
For small infestations, a spray bottle with soapy water works well. Cover both sides of leaves thoroughly. For larger problems, consider neem oil or insecticidal soap, but always test on a small area first.
Introduce beneficial insects like ladybugs or predatory mites. They work especially well in enclosed spaces where they can’t easily fly away. Creating a diverse plant mix naturally reduces pest problems, as many pests prefer specific plant types.
Seasonal Adjustments for Optimal Growth
Your green wall needs different care as seasons change. During summer heat, increase watering frequency and check the reservoir twice daily. Consider adding a shade cloth if leaves show signs of sunburn.
In winter, reduce watering cycles and nutrient strength by about 25%. Most plants grow more slowly in winter, even indoors, and too much water can cause root rot. Check that your grow lights (if used) are still providing adequate coverage as daylight hours decrease.
Adjust your maintenance schedule seasonally too. Summer requires more frequent checks while winter allows for more relaxed monitoring in most indoor settings.
Conclusion
Bringing Your Hydroponic Green Wall to Life
Your hydroponic green wall journey doesn’t end with construction—it evolves as your plants grow and thrive. By following the step-by-step building process and implementing consistent maintenance practices, you’ll create a stunning vertical garden that purifies your air while adding natural beauty to your space.
Remember that patience is key during the first few weeks as your plants establish themselves in their new environment. Monitor your system closely, adjusting nutrient solutions and light exposure as needed. When issues arise—whether it’s nutrient deficiencies, pest problems, or pump failures—address them promptly using the troubleshooting approaches we’ve discussed.
The beauty of a hydroponic green wall lies in its adaptability. You can start small and expand over time, experiment with different plant combinations, or even incorporate automation to simplify maintenance. As you gain experience, you’ll develop intuition about what works best for your specific conditions.
Beyond the aesthetic appeal, your living wall creates a healthier environment while demonstrating sustainable growing practices. It’s a conversation starter, a stress reducer, and a constant reminder of nature’s resilience.
Take pride in your green wall creation—you’ve mastered a blend of horticulture, engineering, and design. With proper care, your hydroponic green wall will reward you with vibrant growth and the satisfaction of growing your own plants in an innovative, space-efficient system for years to come.